
Using visual cryptography I wanted to created two simple metal keyrings that when overlaid displayed some text.
See https://en.wikipedia.org/wiki/Visual_cryptography and the original paper https://link.springer.com/chapter/10.1007/BFb0053419 by Naor and Shamir for more information. They make use of 6 ‘shares’ (6, 2×2 patterns), currently I’m only making use of the two diagonal shares.
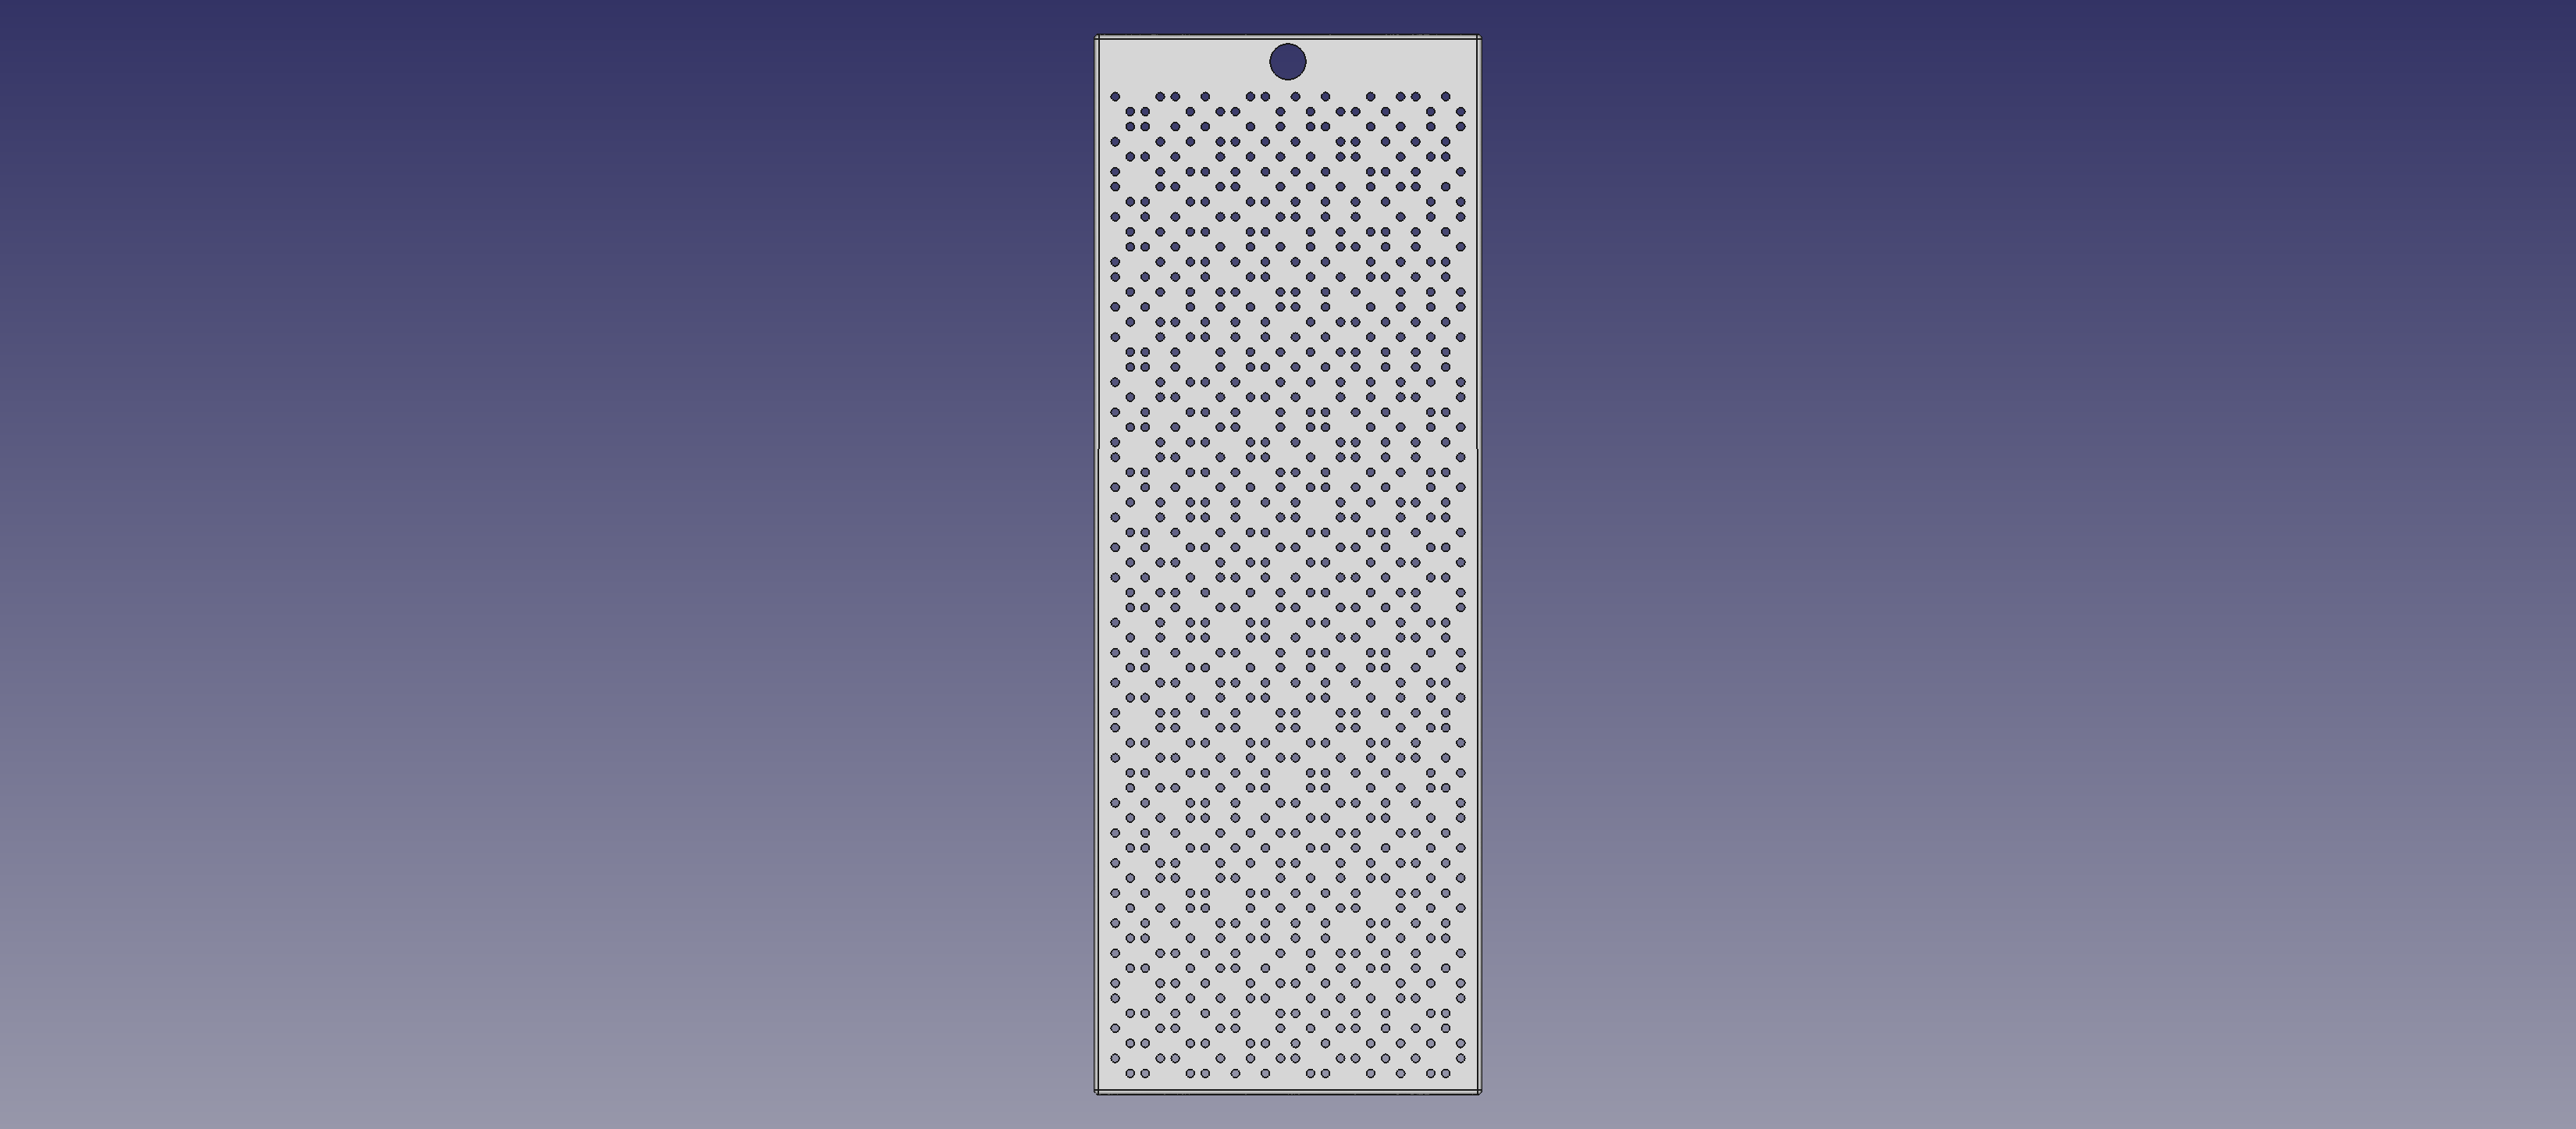
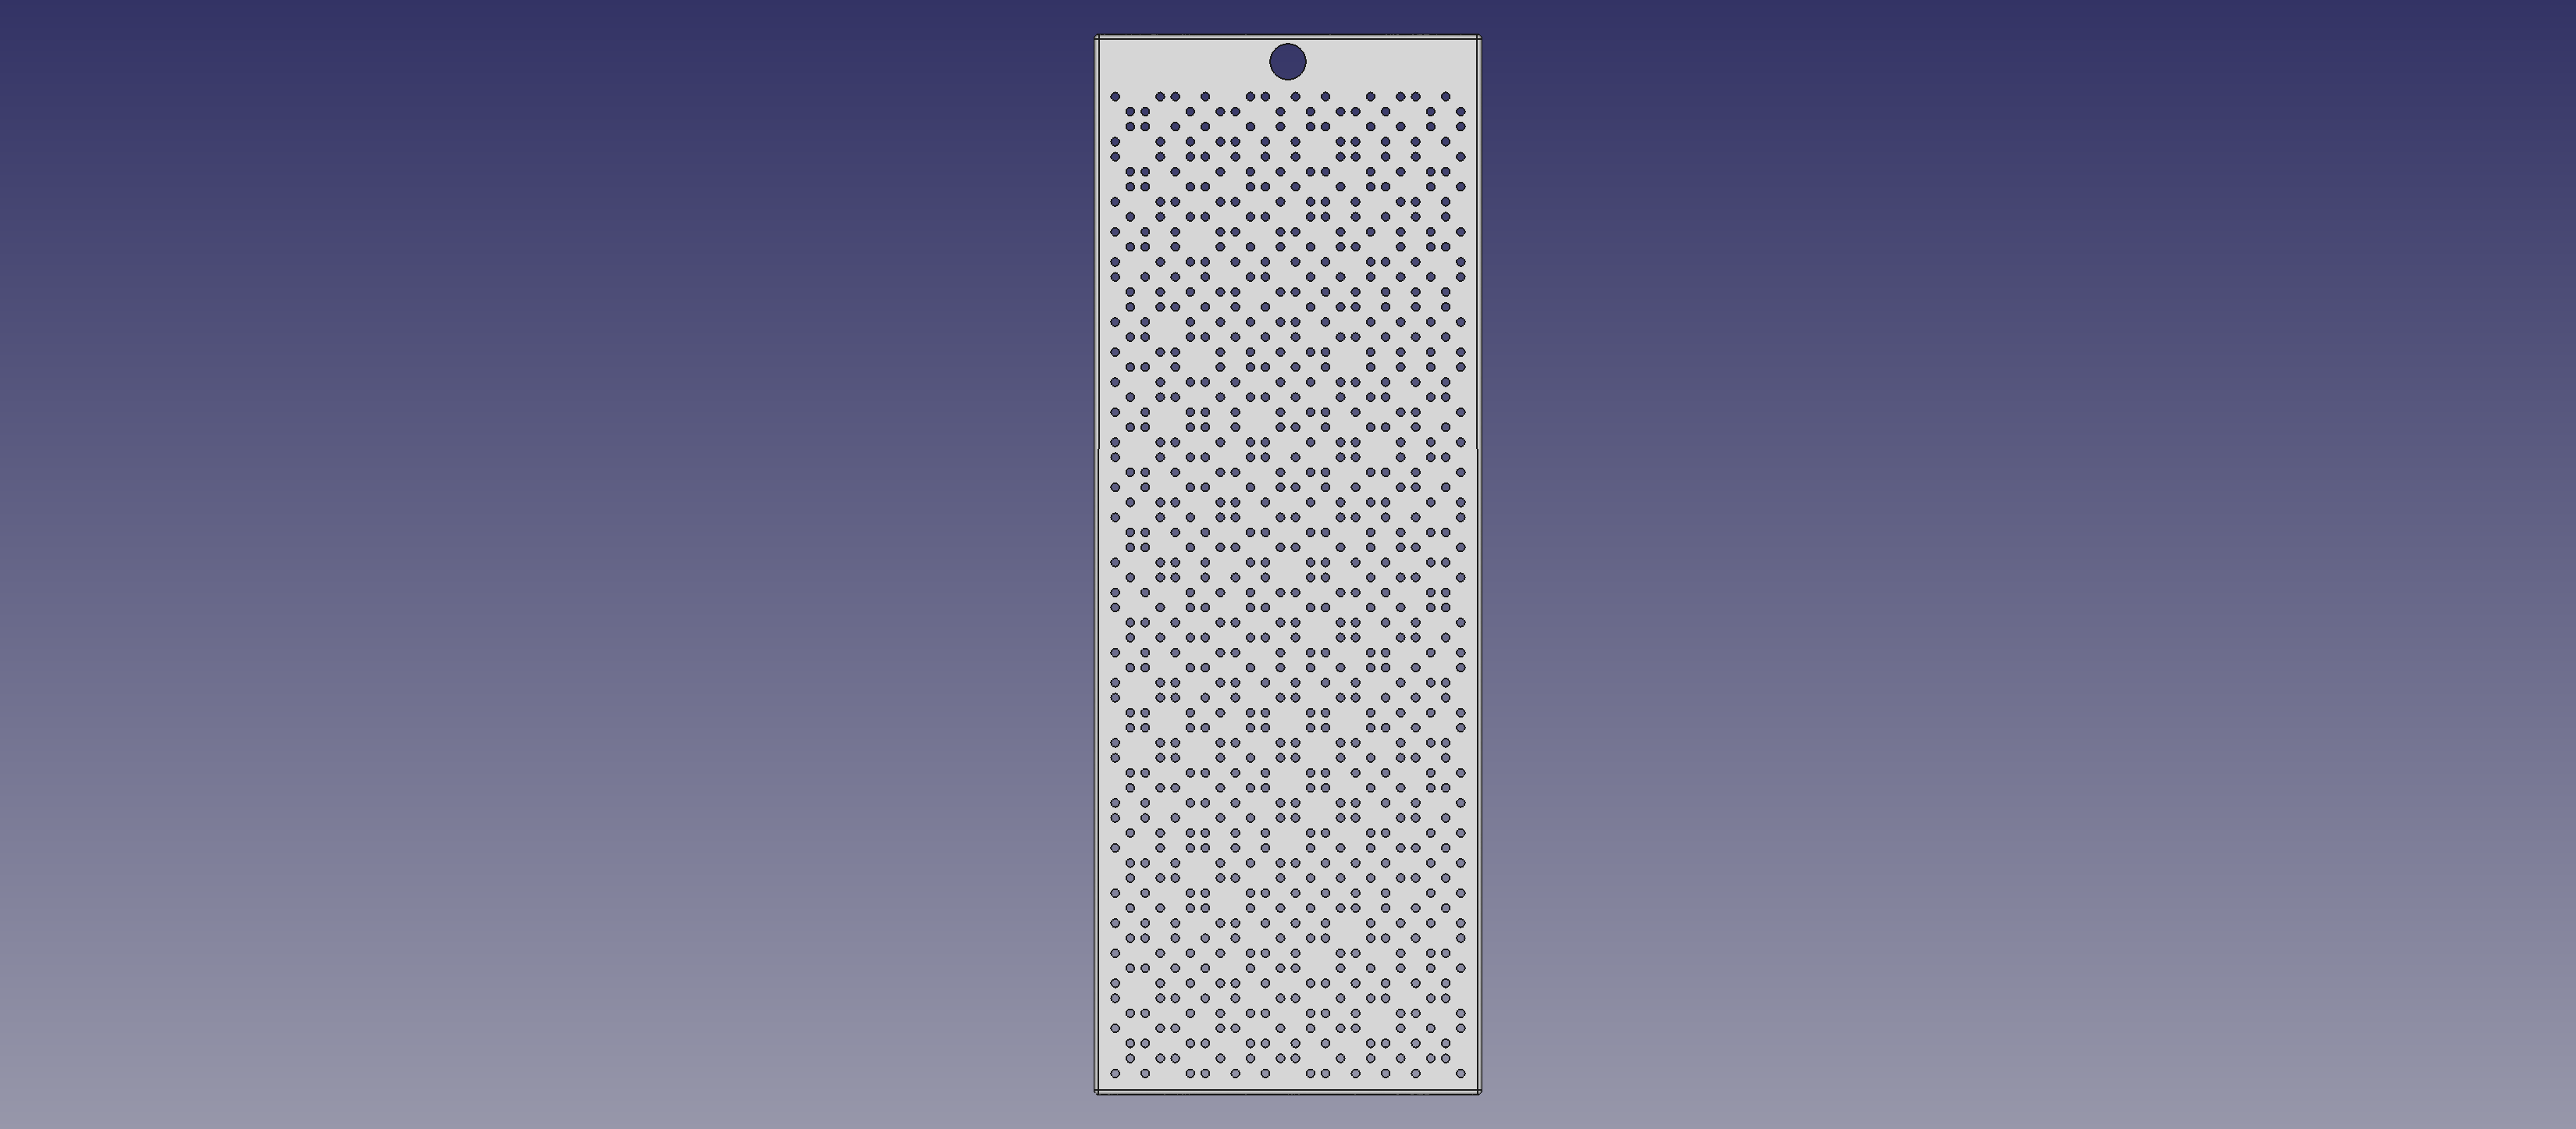
To do this I made use of FreeCad’s python API to take an image and to create the correct holes for each keyring in a 3D rectangle.
The following animation shows how the image is revealed when both keyrings perfectly overlap.
You can see the python source used to create the models here – https://github.com/anfractuosity/cryptokeyring . The python script exports .dxf files which can be used by laser cutters along with .stl files which I used for the above blender animation.
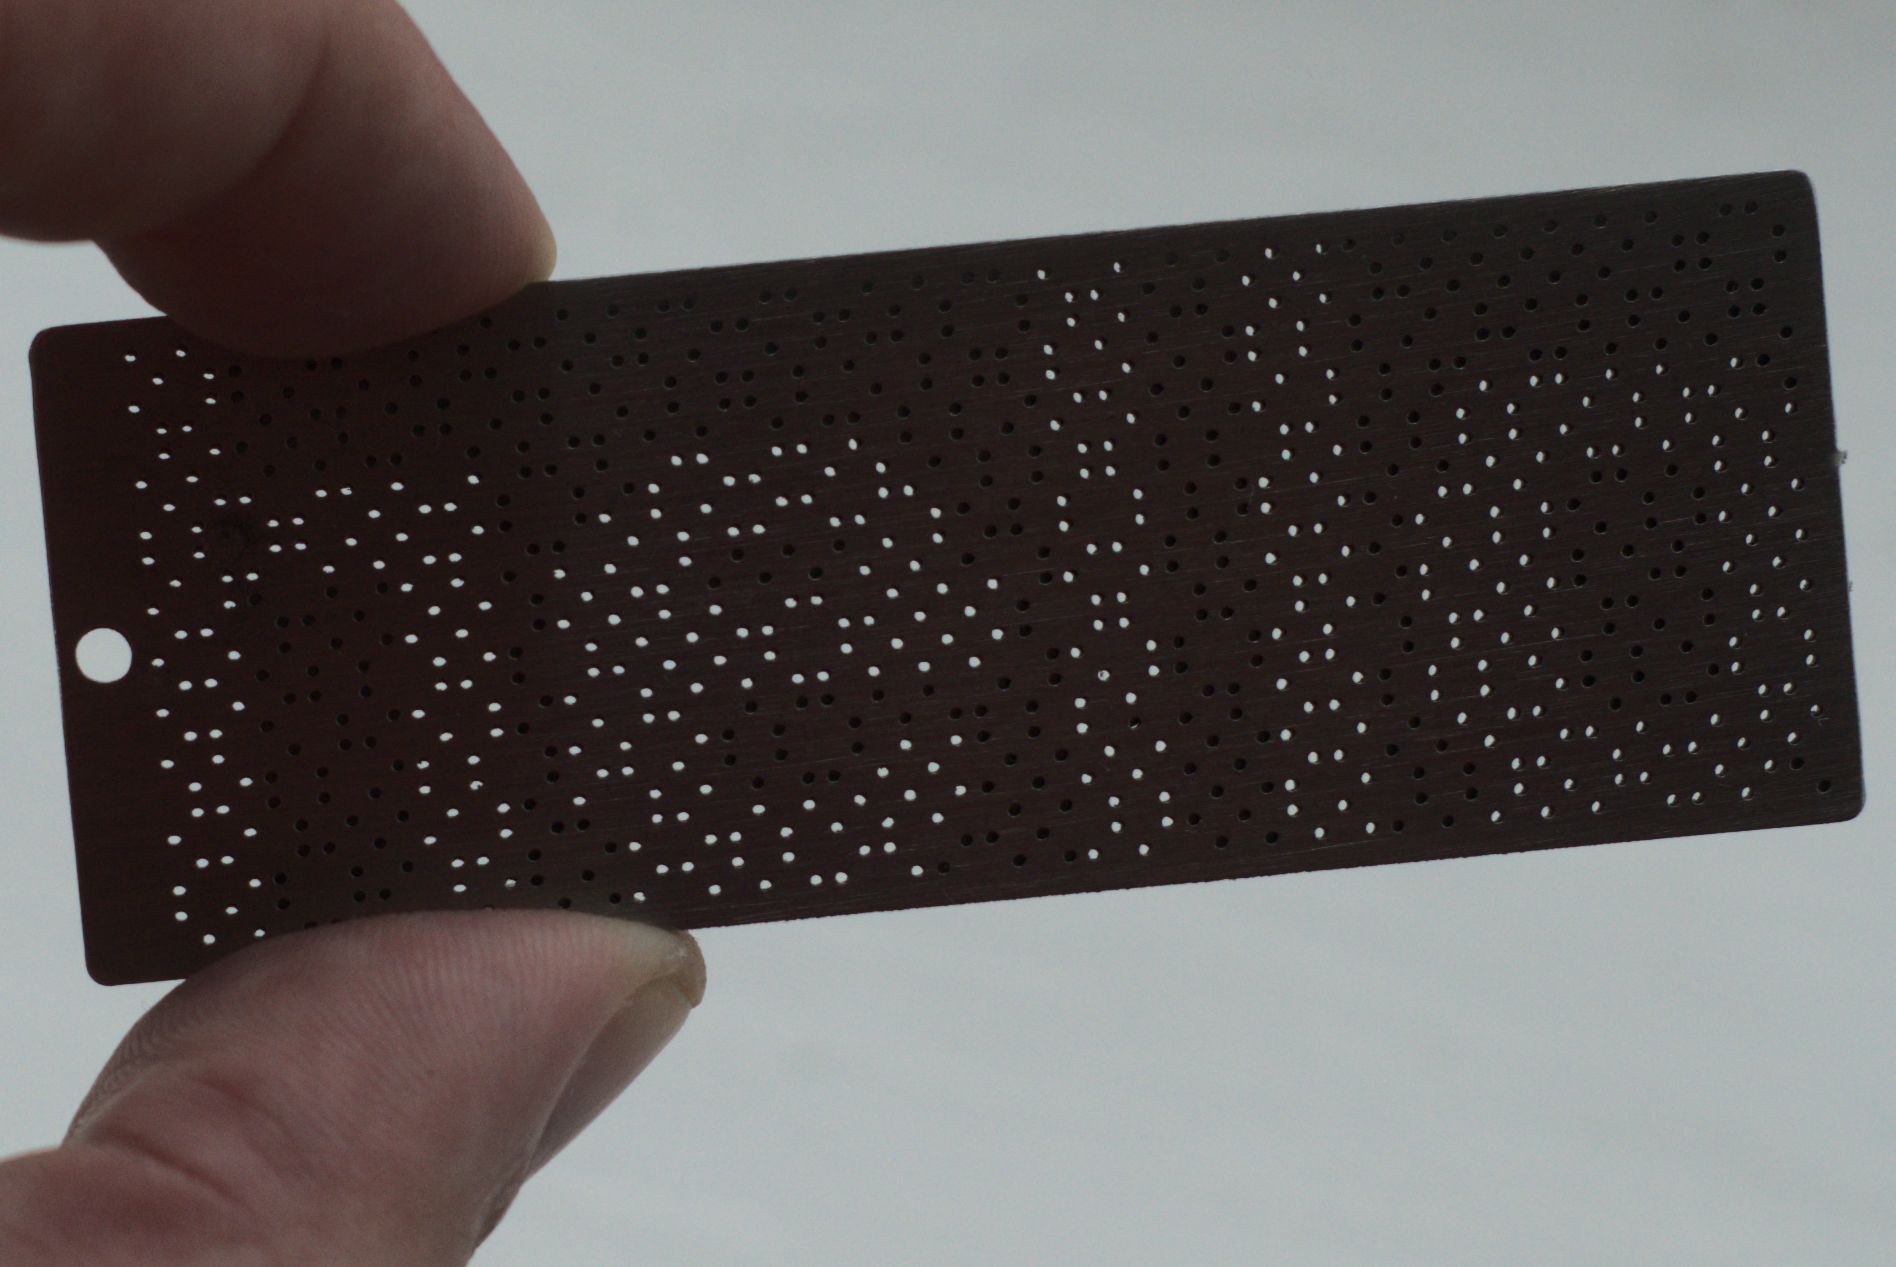
I chose to use 0.6mm diameter holes on 1mm thick stainless steel, with a gap of 0.5mm between the holes.
A useful formulae for choosing the diameter of the holes which are being cut with a laser cutter is: 0.3 to 0.5 * T for laser cutting (where T is the thickness of the metal being cut). As I’m using 1mm thick metal, this gives a potential minimum hole size of 0.3mm to 0.5mm – https://www.manufacturingguide.com/en/ordlista/smallest-possible-holes-thermal-cutting
Keyrings
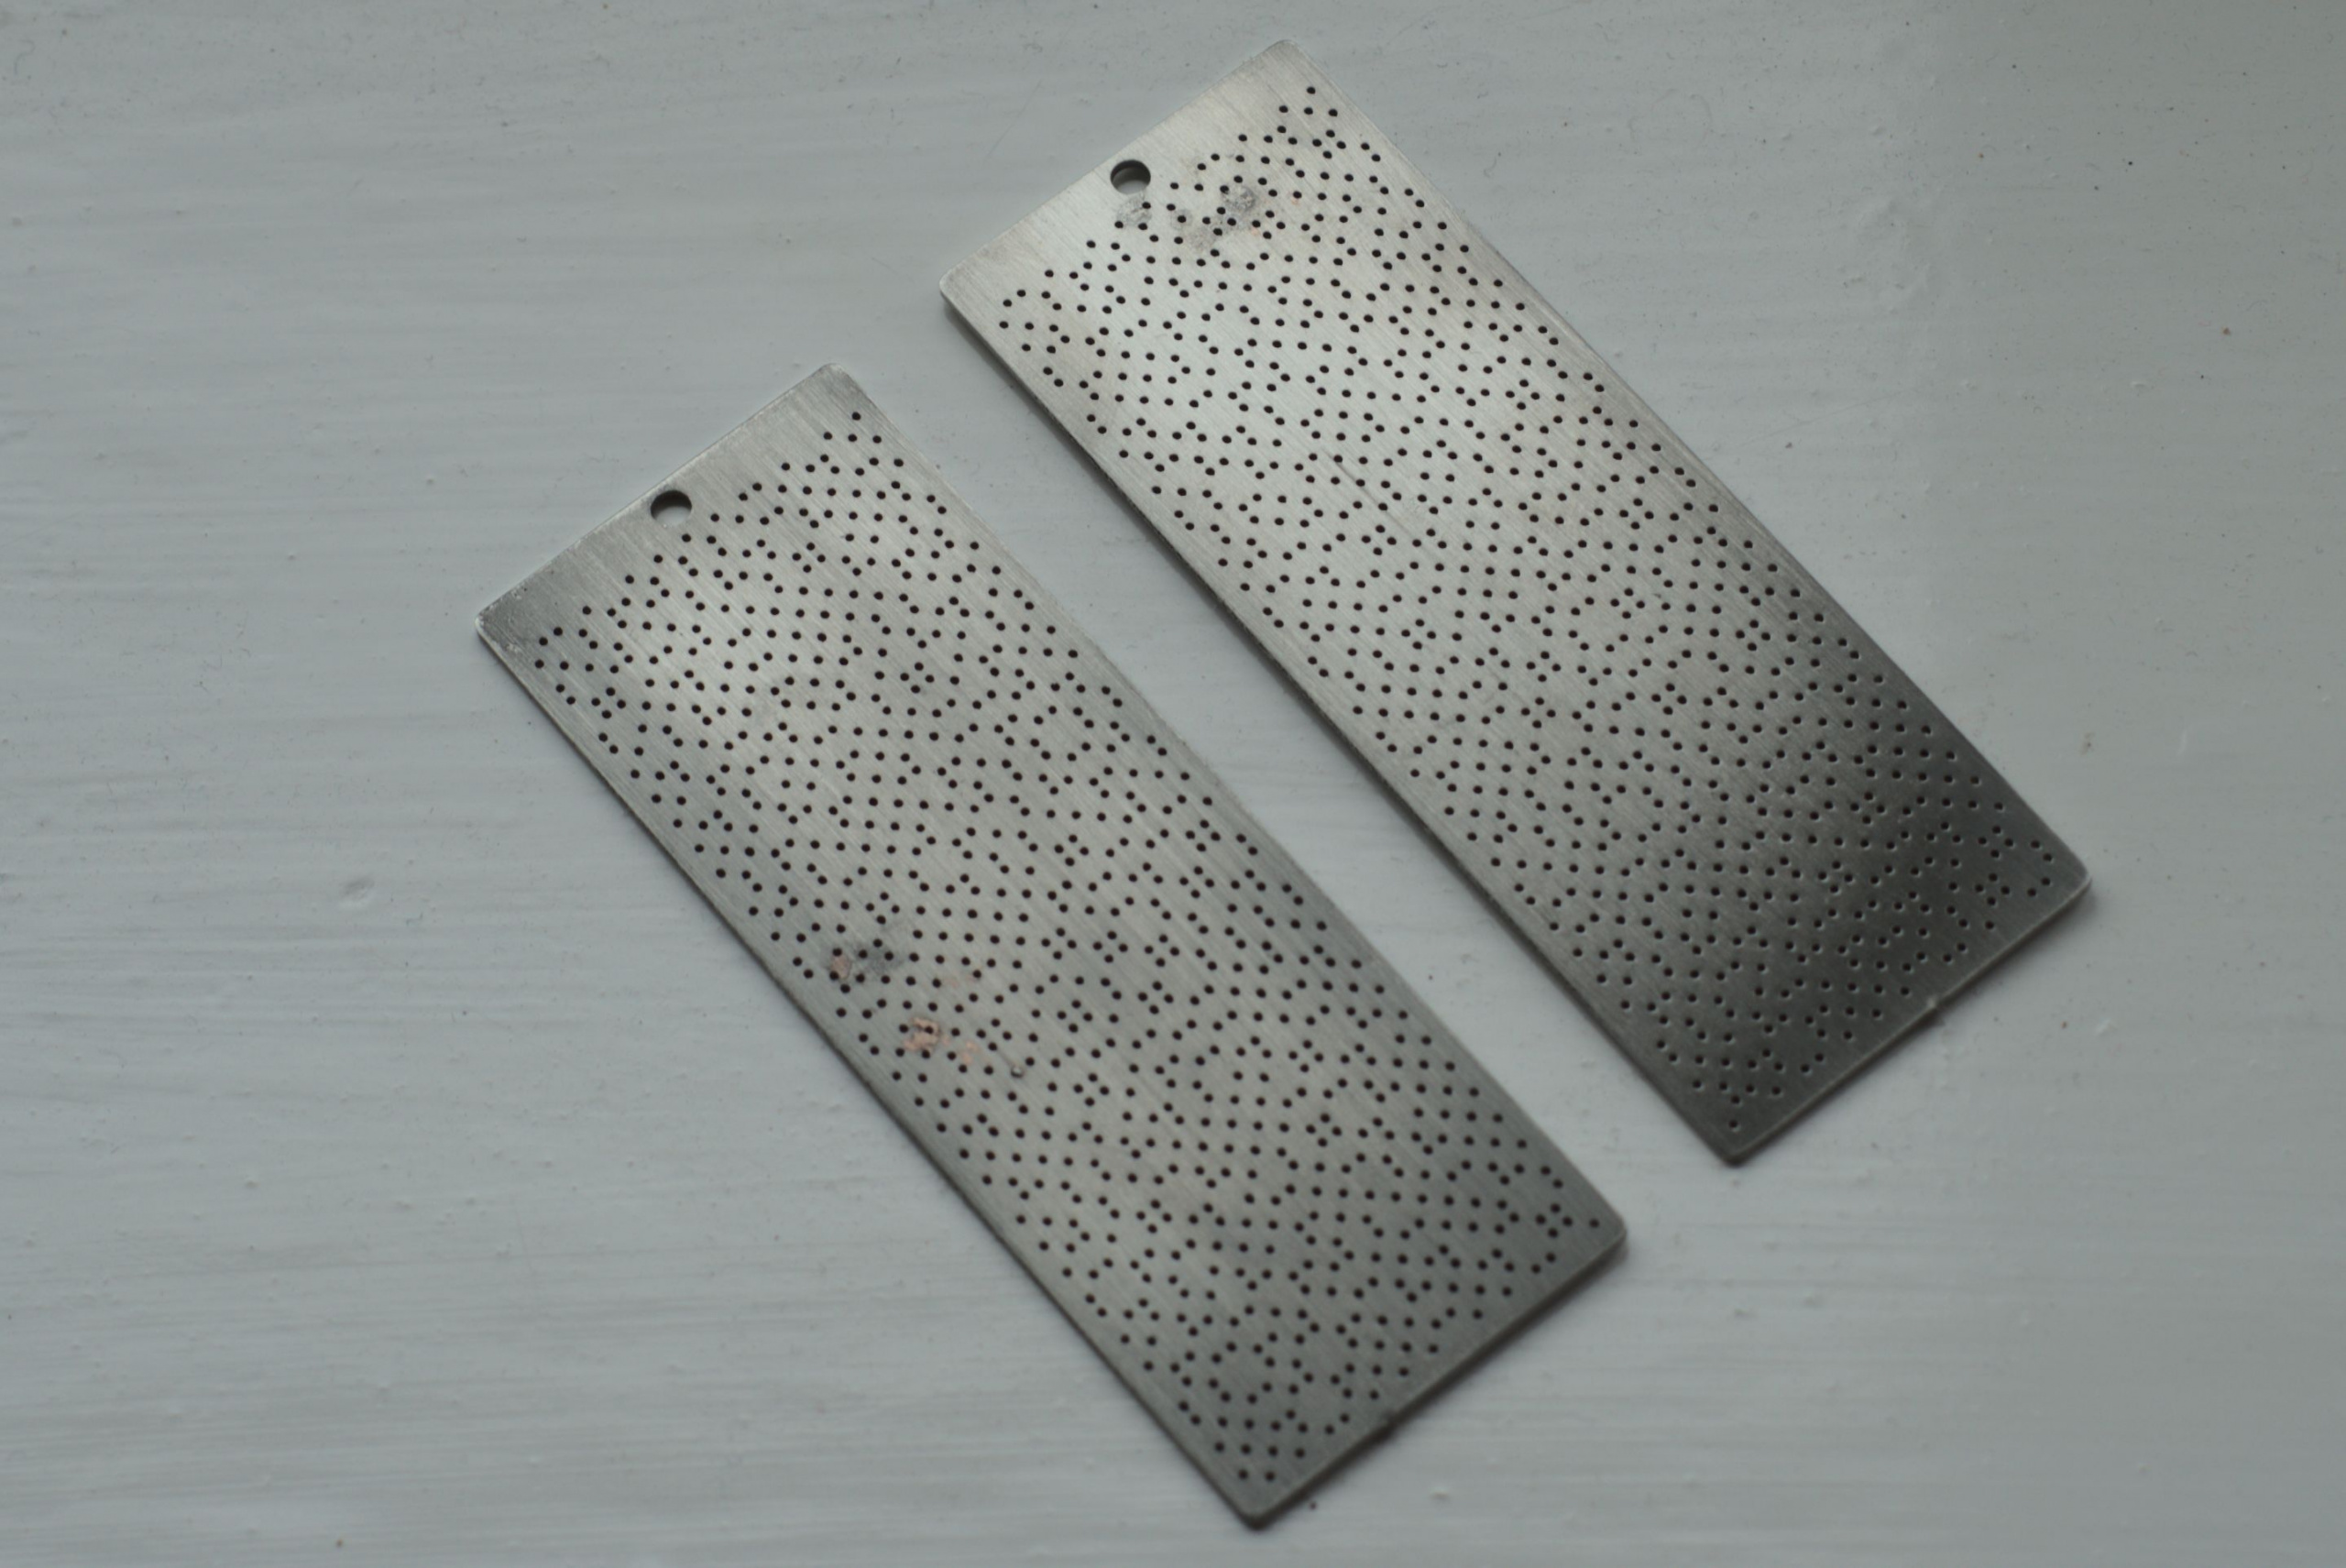
For these particular keyrings I just made use of python’s random number generator. They were laser cut from stainless steel with a brushed finish.
The image below shows the two keyrings overlaid:
Below are the two separate keyrings:
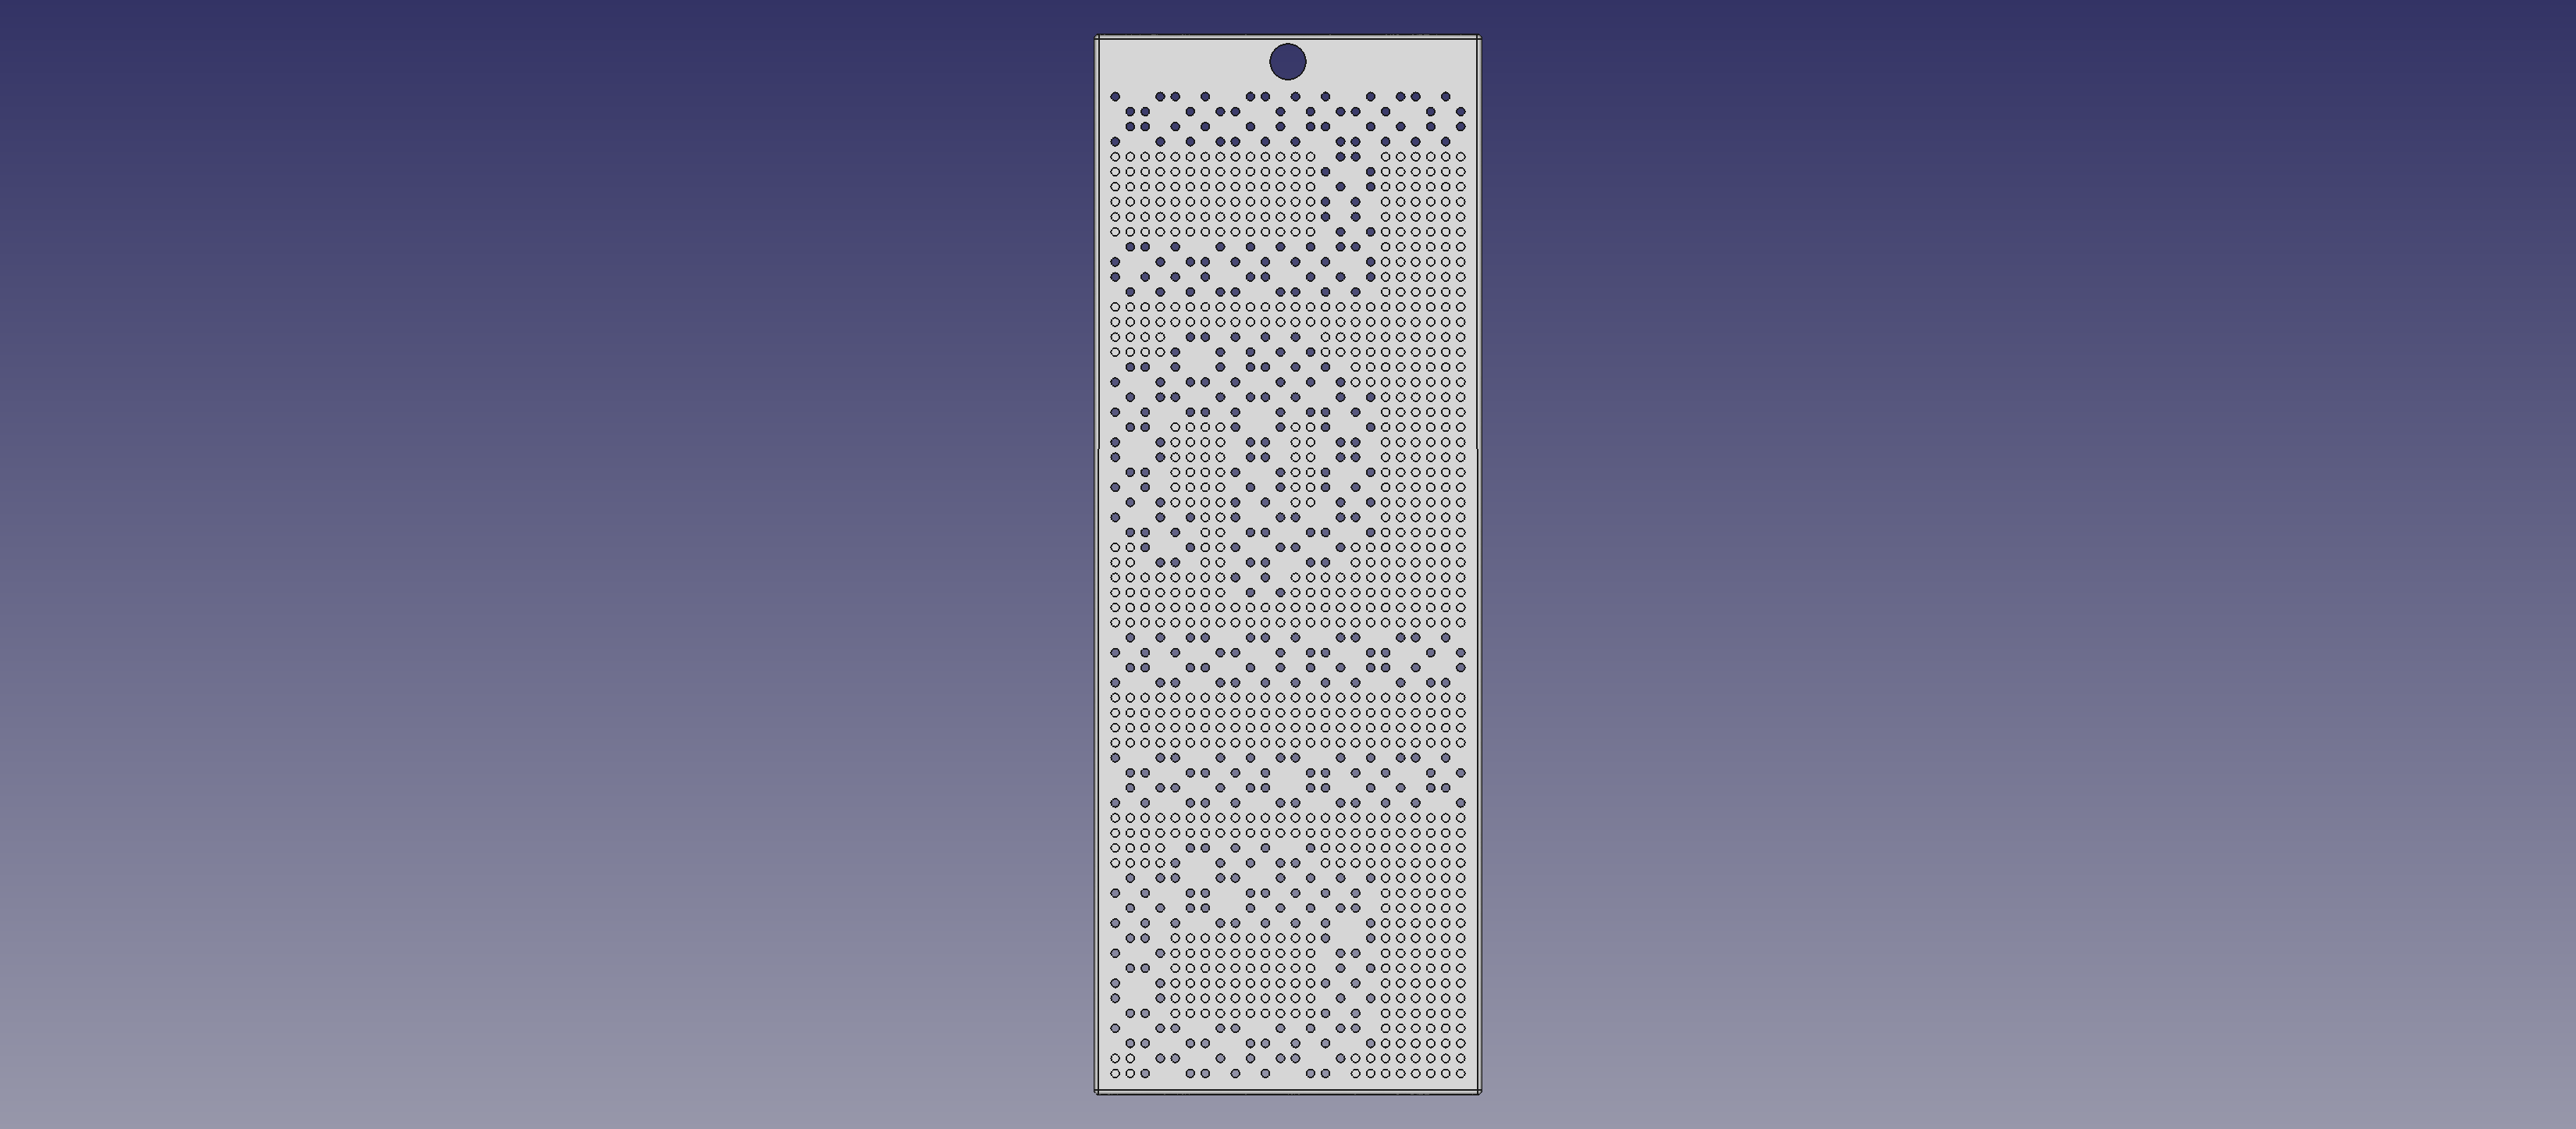
Models from freecad
Overlapped render:
Leave Comment
Error